How to Install Clay Roof Tile? (Step By Step Guide)

Written By: GreenTek Roofing & Solar | 8 Min Read

Clay roof tiles bring timeless beauty and exceptional durability to any home. These tiles have protected buildings for thousands of years and continue to be a popular choice for homeowners seeking both style and longevity. If you’re considering a clay tile roof installation, understanding the process can help you make informed decisions about your roofing project.
This comprehensive guide covers everything you need to know about how to install clay roof tiles, from preparation to finishing touches. We’ll walk you through the materials needed, safety considerations, and step-by-step installation process. Whether you’re a DIY enthusiast or simply want to understand what your roofing contractor will be doing, this guide provides valuable insights into clay tile installation.
Here’s what we’ll cover:
- Understanding clay roof tiles and their benefits
- Step-by-step installation process
- Maintenance tips for clay tile roofs
🔎 Understanding Clay Roof Tiles
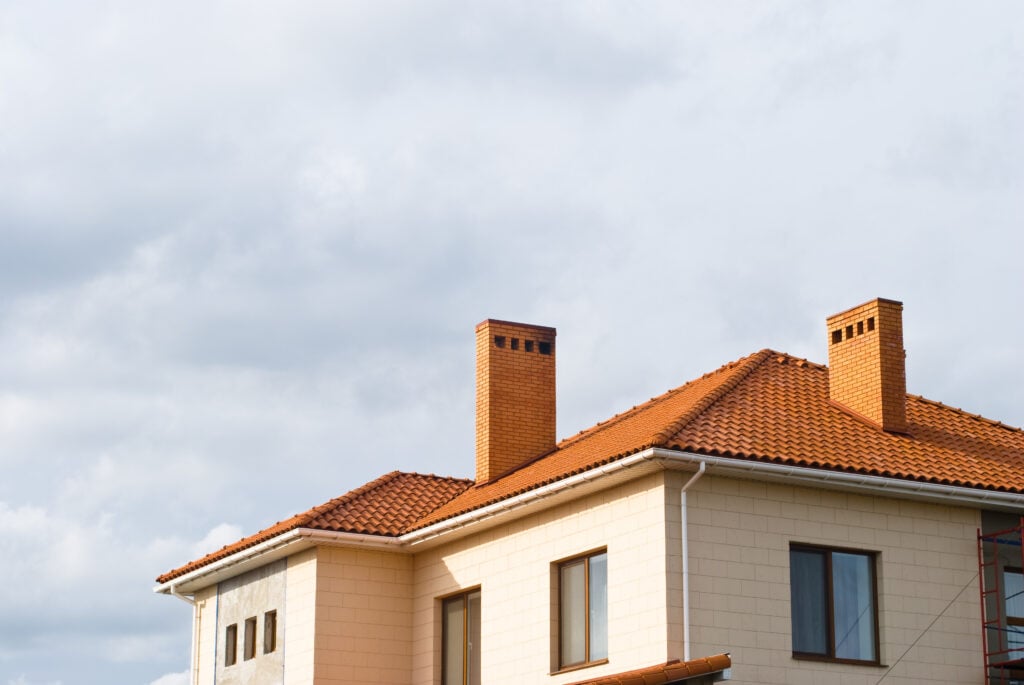
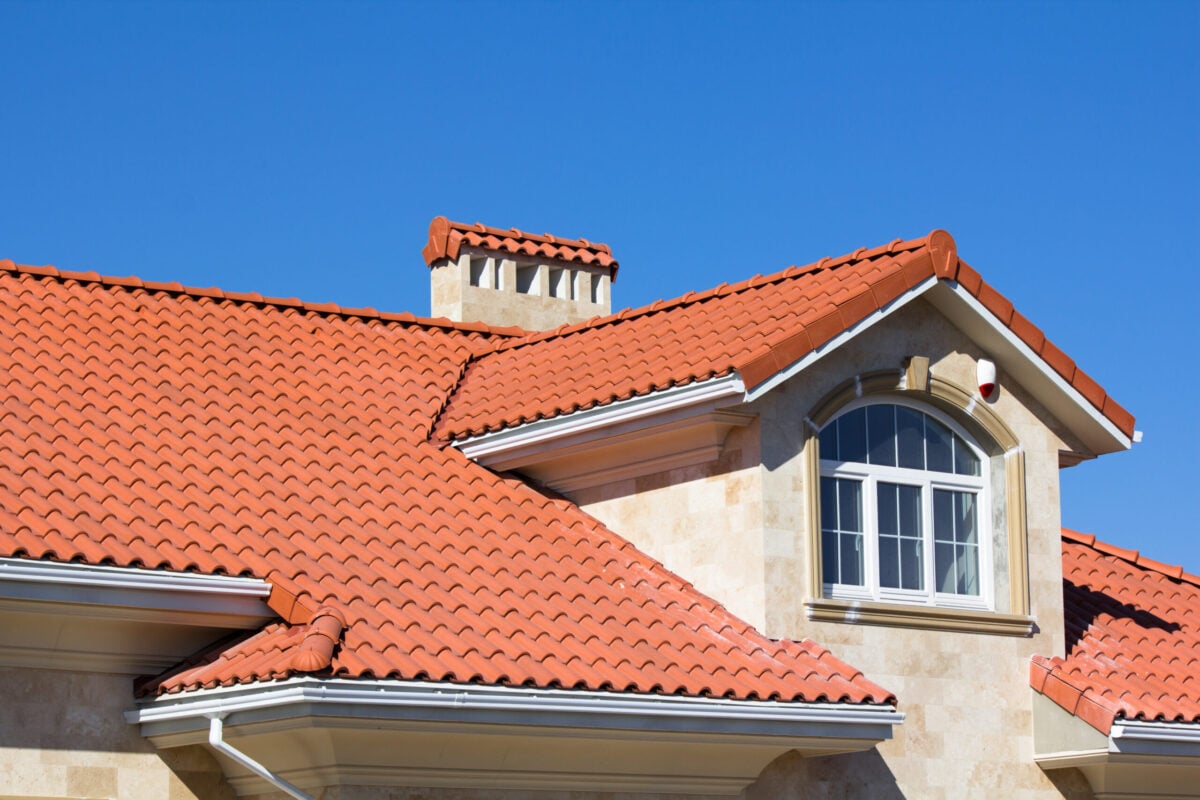
Clay roof tiles are made from natural clay that’s shaped and fired in kilns at high temperatures. This process creates tiles that are incredibly durable, fire-resistant, and able to withstand harsh weather conditions. Clay tiles come in various styles, including barrel tiles, flat tiles, and French tiles, each offering different aesthetic appeals.
The benefits of clay tiles make them worth the investment. They typically last 50-100 years with proper maintenance, provide excellent insulation properties, and are environmentally friendly since they’re made from natural materials. Clay tiles also resist fading, making them an excellent choice for Florida’s intense sun exposure.
Types of Clay Tiles
- Spanish or barrel tiles have a curved shape for overlapping installation.
- Flat tiles resemble traditional shingles but need specific underlayment.
- French tiles feature an interlocking design that blends both styles.
✅ 7 Steps To Clay Tile Installation
Now comes the main installation process. Follow these steps carefully to ensure proper clay tile installation.
1. Install Battens
Start by marking horizontal lines across your roof using a chalk line to ensure accuracy and consistency. These lines will serve as guides for placing the wooden battens, which are essential for providing attachment points for your tiles and maintaining proper spacing. Ensure the spacing between the lines follows the tile manufacturer’s specifications, as incorrect spacing can compromise the installation. Cut the battens to size if necessary, and secure them to the roof structure using nails or screws. Double-check that they are level and evenly spaced before proceeding. Battens are a critical foundation for your tile installation, so take your time to get this step right.
2. Start at the Bottom
Tile installation should always begin at the bottom edge of the roof, along the eaves. Working from right to left, install a starter course of tiles. The starter course is important because it sets the foundation for the rest of the tiles, ensuring proper alignment and overlap for water drainage. As you position each tile, make sure they are level and evenly spaced. Use a spirit level to verify alignment before securing them, as any errors here can affect the entire row above. Starting at the bottom ensures water flows correctly off the roof and prevents leaks or pooling.
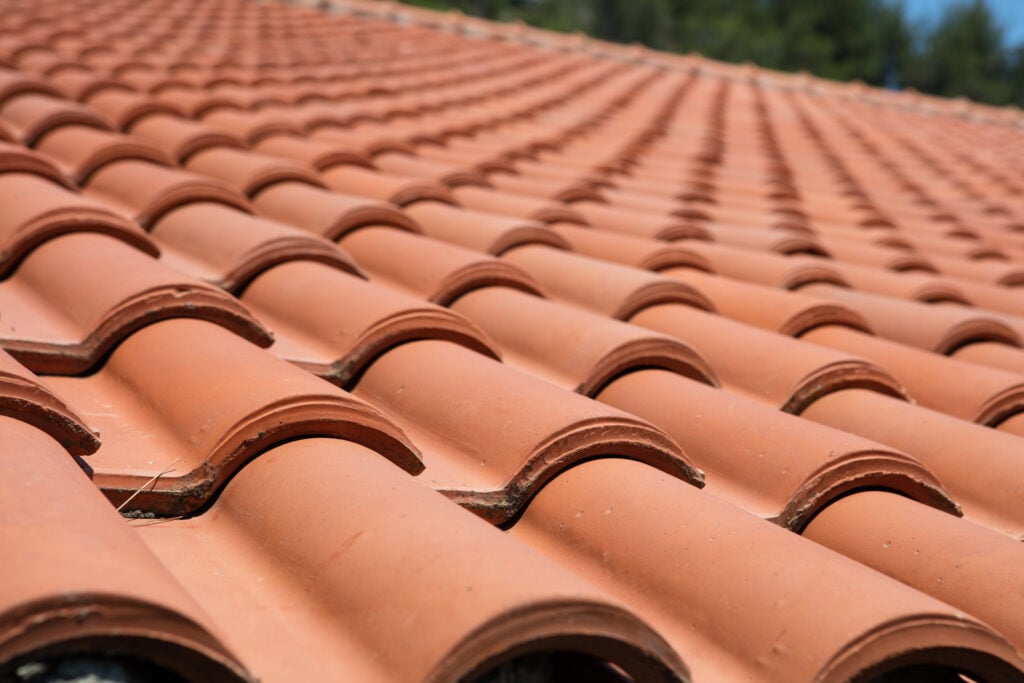
3. Install Field Tiles
Once the starter course is complete, begin installing the field tiles, which cover the main surface of the roof. Work your way up the roof, row by row, ensuring each tile overlaps the one below it according to the manufacturer’s specifications. Proper overlap is crucial for weatherproofing and preventing water infiltration. Use the battens as guides to maintain consistent spacing and alignment as you go. Regularly step back and inspect your work after completing each row to ensure straight lines and even spacing. This step can be time-consuming, but precision here will ensure a professional and durable finish.
4. Secure Each Tile
Fasten each tile securely to the battens using appropriate nails or screws. Drive the fasteners through the designated holes in the tiles, ensuring they are properly anchored without over-tightening. Over-tightening can crack the clay or damage the tile, so use caution during this step. For areas prone to high winds, consider using additional fasteners or specialized clips for extra security. Double-check that each tile is securely attached before moving to the next row to avoid issues later.
5. Install Ridge and Hip Tiles
Once the field tiles are installed, move on to the ridge and hip tiles, which cover the peaks and angles of the roof. These specialized tiles require extra attention to ensure proper installation and weatherproofing. Use mortar or sealant to secure them in place, following the manufacturer’s recommendations for application. Pay close attention to alignment, as ridge and hip tiles play a key role in the overall appearance of the roof. Ensure these tiles are properly sealed to prevent water infiltration and provide a polished, finished look to your roof.
6. Add Flashing
Flashing is an essential component of roof installation, particularly around areas where the roof surface meets chimneys, vents, skylights, or other protrusions. Install flashing to create a waterproof barrier that prevents water from seeping into these vulnerable areas. Use metal flashing material, and secure it with nails or adhesive, depending on the roof’s design. Make sure the flashing overlaps with the tiles to direct water away from the roof and down to the gutters. Properly installed flashing ensures long-lasting protection against leaks and water damage.
7. Final Inspection
After completing the installation, conduct a thorough inspection of your work. Check for any loose tiles, gaps, uneven spacing, or other issues that may compromise the roof’s performance. Pay special attention to the ridge and hip tiles, as well as the flashing, to ensure they are secure and properly sealed. Test for alignment and overlap consistency across the roof surface. Address any problems you find immediately, as even small issues can lead to bigger problems down the line. Once you’re confident everything is in place and secure, your roof installation is complete.
🛠️ Maintenance Tips for Clay Tile Roofs
Proper maintenance extends the life of your clay tile roof and prevents costly repairs. Regular inspections and minor maintenance tasks can keep your roof in excellent condition for decades.
Regular Inspections
It’s important to inspect your roof twice a year to catch any potential issues early. During your inspection, look for cracked, broken, or displaced tiles that could lead to leaks or further damage. Pay close attention to the flashing around roof penetrations, such as chimneys, vents, or skylights, as these are common areas for water to seep through. Additionally, check gutters and downspouts to ensure they are free of leaves, dirt, and other debris that could block drainage and lead to water pooling on your roof. Address any problems as soon as you spot them to prevent costly water damage and maintain the integrity of your roof.
Cleaning and Moss Removal
Keeping your roof clean is essential for its longevity. Over time, moss, algae, and debris can accumulate on your tiles, leading to moisture retention and potential damage. Regularly clear these away using a soft brush or by low-pressure washing to avoid harming the tiles. High-pressure washing should be avoided, as it can crack or dislodge clay tiles and strip away protective coatings. For stubborn moss and algae, consider using a roof-safe cleaning solution designed to kill growth without damaging the surface. Regular cleaning not only enhances the appearance of your roof but also prevents long-term structural issues.
Professional Maintenance
While regular DIY inspections and cleaning are crucial, it’s equally important to schedule professional roof maintenance every few years. Professional roofers bring expertise and specialized tools to identify issues that might not be visible to the untrained eye, such as subtle cracks, weakening underlayment, or areas prone to leaks. After severe weather events like storms or heavy winds, it’s especially important to have your roof inspected to ensure it hasn’t sustained hidden damage. Professionals can safely carry out necessary repairs, prolonging the life of your roof and saving you money in the long run..
👨🔧 Trust Greentek Roofing & Solar for Your Clay Tile Installation
Installing clay roof tiles is a precise and demanding process that requires expertise, high-quality materials, and attention to detail to ensure long-lasting performance. At Greentek Roofing & Solar, we bring years of experience, industry-leading certifications, and a deep understanding of Florida’s unique climate to every project.
As GAF Master Elite contractors and TAMKO Pro Diamond certified installers, we stand among the top roofing professionals in North America. When you choose us, you’re not just getting a roof—you’re getting peace of mind and exceptional service. Ready to get started on your clay tile roofing project? Contact Greentek Roofing & Solar today for a free consultation!!

Step Into
The Future of Roofing
