EPDM Roof Sealant: 7 Step Application Guide

Written By: GreenTek Roofing & Solar | 6 Min Read

Maintaining a durable roof is essential for protecting any commercial building against leaks, weather damage, and energy loss. One effective way to enhance roof longevity is by using epdm roof sealant. This specialized sealant is designed to provide a flexible, watertight barrier that extends the life of EPDM roofing membranes. If you want a practical, easy-to-follow method for applying this sealant, the guide below will walk you through every step to achieve optimal results. For those interested in professional support with commercial roofing, explore options like commercial roofing services to ensure expert application and maintenance.
- Discover the importance of proper EPDM roof sealant application
- Learn each essential step in the sealing process
- Understand key preparation and safety tips
- Explore common mistakes to avoid
- Gain insight into maintenance for lasting results
Why Proper EPDM Roof Sealant Application Matters
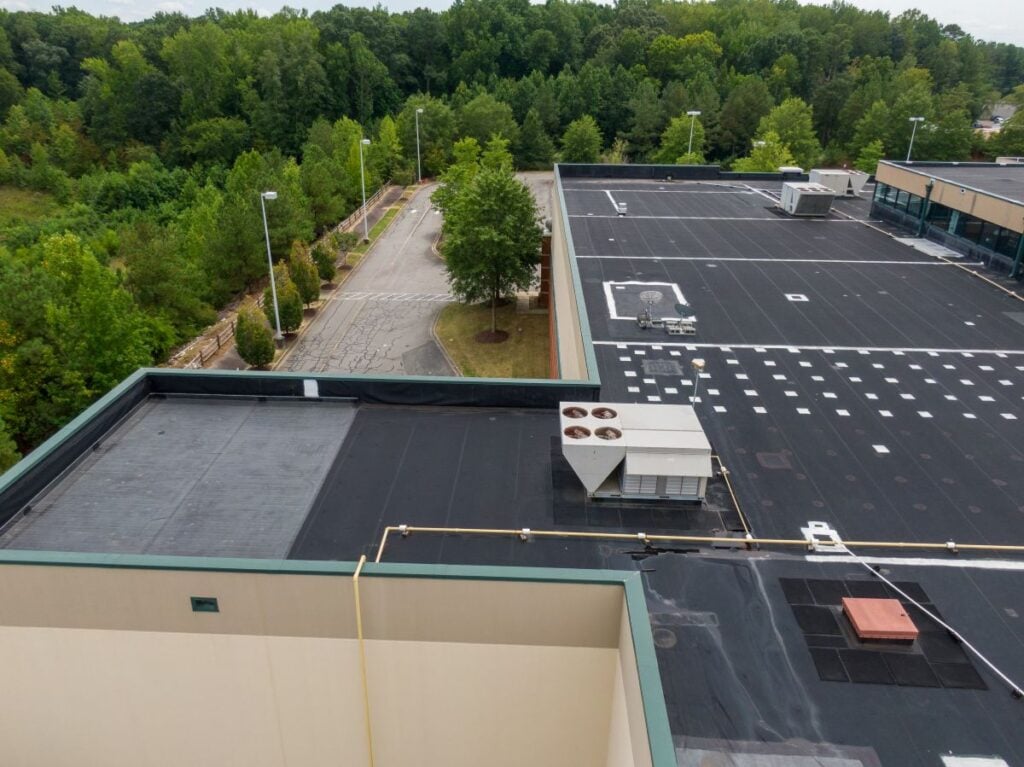
Applying EPDM roof sealant correctly is crucial in preserving the roof’s waterproofing and elasticity. Improper application can result in premature sealant failure, causing leaks and costly damage over time. This flexible membrane requires a thoughtful approach to preparation, application, and curing to maximize performance.
- Waterproofing Integrity: Properly applied sealant prevents water infiltration, which can damage roofing substrates.
- Extended Roof Life: Sealant protects the membrane from UV rays, oxidation, and temperature fluctuations.
- Energy Efficiency: Maintaining a sealed surface improves insulation and reduces energy bills.
- Cost-Effectiveness: Avoids expensive repairs and premature roof replacement.
- Safety Compliance: Meets local building codes and manufacturer standards.
7 Essential Steps for Applying EPDM Roof Sealant
Applying ≈ requires precision and care. Follow these seven steps to ensure a successful application that enhances your roof’s durability and effectiveness.
1. Thorough Roof Cleaning
Cleaning the surface is the foundation of good sealant adhesion. Remove dirt, debris, and any loose materials using a broom, vacuum, or blower. Pay special attention to oil spots or mildew and use appropriate cleaners to eliminate contaminants.
- Preparation Tip: Use a mild detergent or EPDM-approved cleaner for best results.
- Drying: Allow the roof to air dry completely before sealant application.
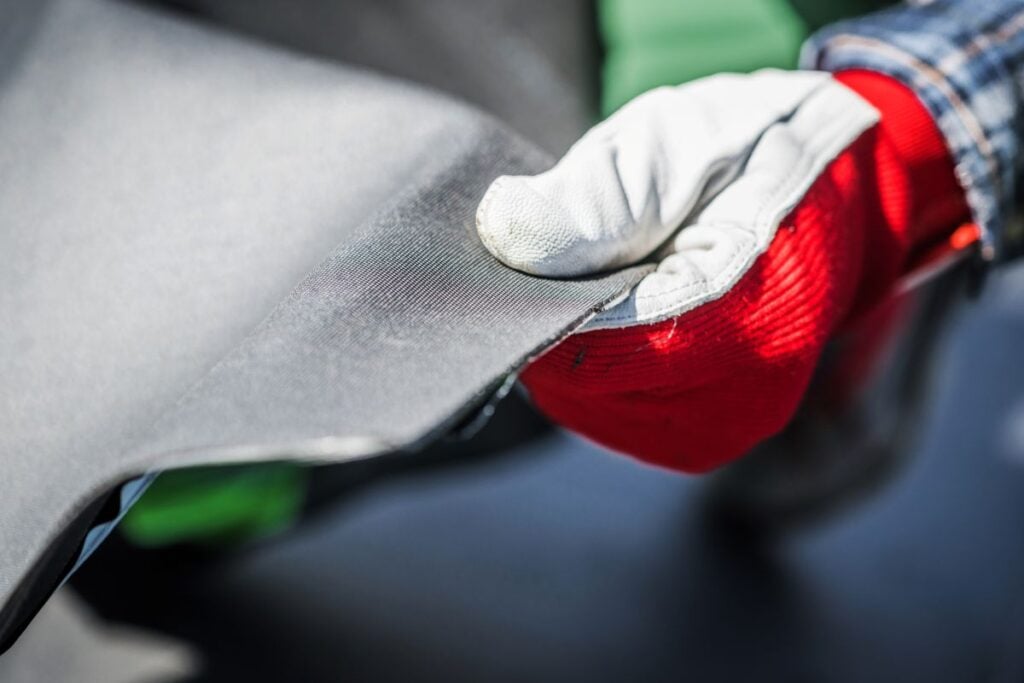
2. Surface Inspection and Repairs
Inspect the roof membrane carefully for cracks, tears, or punctures. Address these issues first to prevent water damage beneath the sealant layer. Use EPDM-compatible patch kits or adhesives as necessary.
- Inspection Focus: Look around drains, flashings, and seams where leaks commonly occur.
- Patching: Larger damages require professional repair for optimal results.
3. Primer Application
Not all EPDM sealants require a primer, but if recommended by the manufacturer, apply a thin, even layer. Primer enhances the bond between the EPDM membrane and the sealant, ensuring long-term adhesion.
- Application Method: Use a clean brush or roller designed for roofing products.
- Drying Time: Allow the primer to dry completely, as per the product instructions.
4. Masking and Protection
Mask surrounding areas that do not require sealant. Use painter’s tape or protective sheeting to prevent accidental spills or smears on walls, windows, or other roofing components.
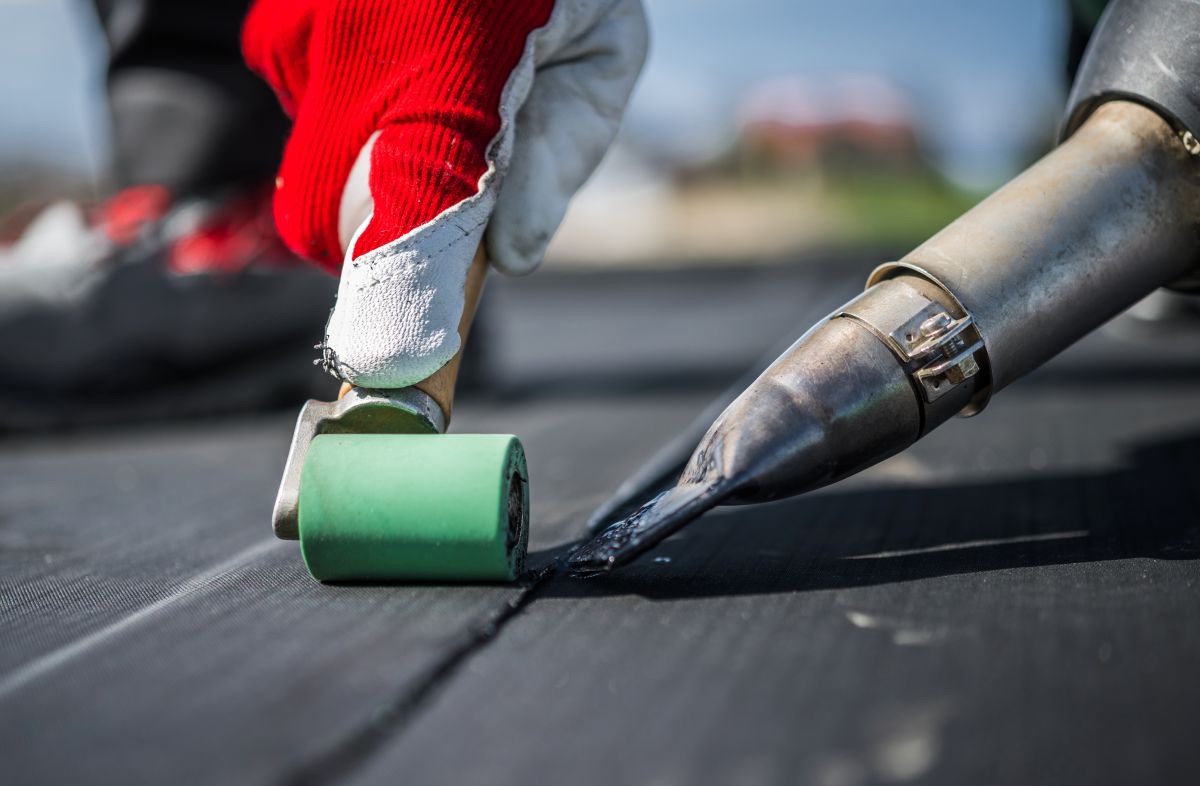
5. Sealant Application
Apply the EPDM roof sealant using a caulking gun, roller, or brush depending on the sealant type and area coverage. Apply evenly, filling all gaps and seams carefully. Maintain consistent pressure if using a caulking gun and smooth out excess with a putty knife or edge tool.
- Recommended Thickness: Follow manufacturer specifications for layer thickness.
- Seam Coverage: Overlap seams with sealant to ensure no weak points.
6. Curing and Drying
Allow the sealant to cure undisturbed for the time indicated on the product label. Typically, this ranges from several hours to a full day. Avoid foot traffic on the sealed area until cured to preserve the integrity of the membrane.
7. Final Inspection and Cleanup
After curing, inspect the sealed surfaces for uniform coverage and look for missed spots or bubbles. Remove masking materials and clean tools promptly with manufacturer-recommended solvents or cleaners to extend their usability.
Additional Tips for Successful EPDM Sealant Use
Beyond the core application steps, these tips can improve success and longevity for your sealant project. They cover preparation, weather considerations, and product selection.
- Weather Conditions: Apply sealant in dry weather with temperatures between 50°F and 85°F to ensure proper curing.
- Material Compatibility: Use sealants specifically formulated for EPDM roofing membranes.
- Equipment Maintenance: Keep application tools clean and ready for use to avoid product contamination.
- Safety Precautions: Use gloves and eye protection; ensure ventilation if working in enclosed areas.
Common Mistakes to Avoid When Using EPDM Roof Sealant
Even minor errors during EPDM sealant application can lead to significant roof issues. Awareness of these pitfalls helps ensure the process goes smoothly and the roof remains secure.
Skipping Surface Preparation
Failure to clean and dry the roof surface properly may cause poor adhesion, leading to sealant peeling or blistering over time.
Incorrect Primer Use
Applying primer where it’s unnecessary or failing to use it when required compromises the bond strength between membrane and sealant.
Over-application or Under-application
Applying too much sealant causes drips and prolonged curing times; too little leaves gaps vulnerable to moisture intrusion.
Ignoring Weather Forecasts
Sealing right before rain or freezing temperatures can halt curing or wash the product away prematurely.
Delaying Repairs
Attempting to seal over existing damage without repairs often results in further membrane degradation and leak development.
Maintaining Your EPDM-Sealed Roof for Longevity

Once the EPDM roof sealant is correctly applied, ongoing maintenance ensures continued protection against environmental stresses and wear.
Routine Inspections
Schedule biannual roof inspections, especially after severe weather events, to catch and address early signs of sealant failure or membrane wear.
Cleaning Debris
Remove leaves, dirt, and other debris that can retain moisture or damage the sealant surface, promoting premature degradation.
UV Protection
Consider additional reflective coatings if the roof is extensively exposed to sunlight, which can help extend sealant life.
Prompt Repairs
Address small cracks or punctures quickly with compatible patch kits or resealing to prevent moisture infiltration.
EPDM Roof Sealant: Your Best Ally in Commercial Roofing
Effective application of EPDM roof sealant is key to keeping commercial roofing systems watertight, flexible, and resilient over time. By following a detailed, step-by-step process and avoiding common mistakes, building owners and maintenance teams can protect their investment and avoid costly repairs.
If you want expert assistance with EPDM roofing or want to explore tailored solutions, contact Greentek. Our experienced team stands ready to address your commercial roofing needs — contact us today to get started.

Step Into
The Future of Roofing
